


DIY ICE ICE NEON[:]
 Hello my darlings!
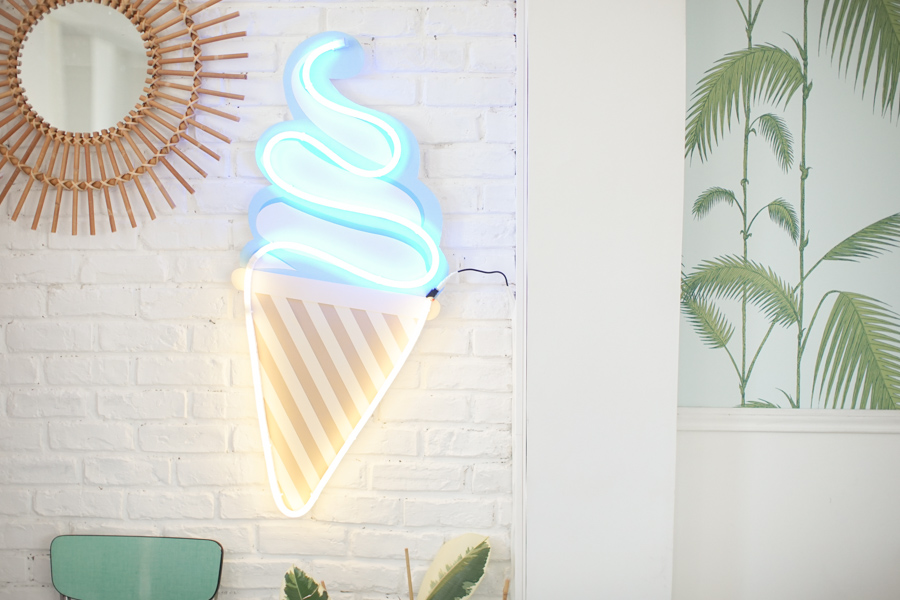
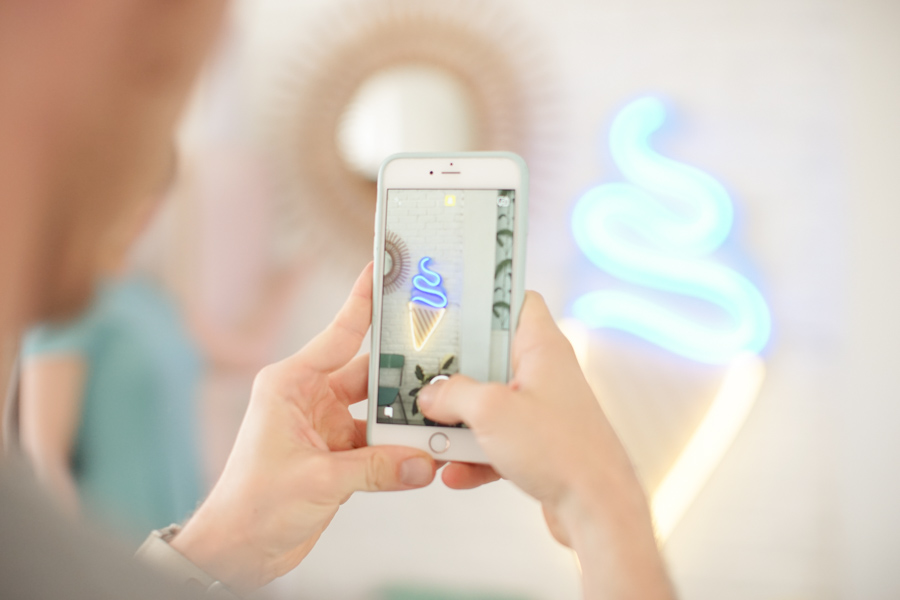
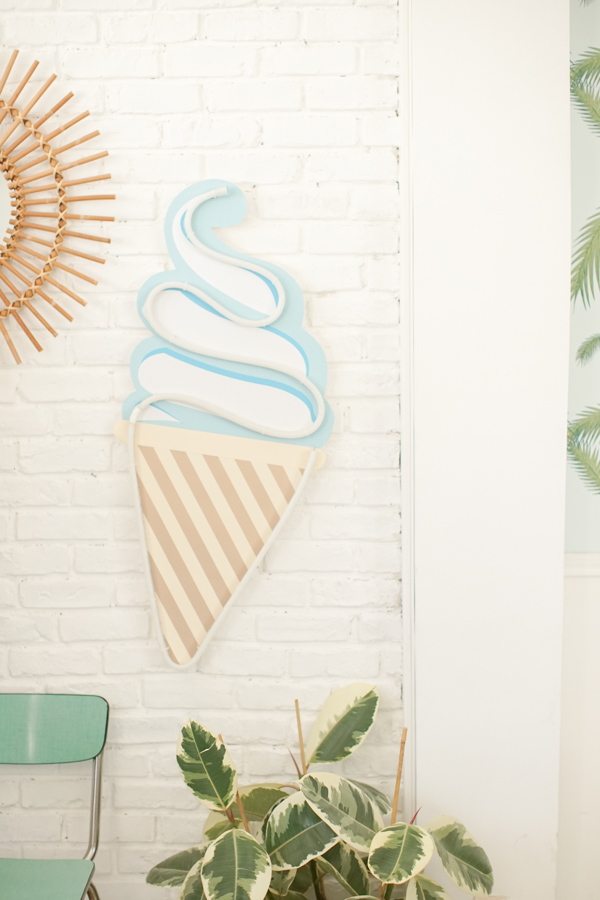
I hope that this theme week still makes your mouth water! There won’t be a Happy Friday today, I’m holding onto a sugary sweet outfit to top off the week on Sunday! Today we’re going to do a neon light ice cream DIY! I’ve wanted to make this for a while but I didn’t want to do any projects with intense electric work. Technology has made creating a neon effect available to everyone, not like LEDs that are little lights every 5 cm, this is more of an authentic retro neon light like everyone loves! Hallelujah for all DIY fans! After sifting through information online, our Charlotte found the holy grail of lighting at Dream Neon. Besides having really easy to use fluorescents, their team is super nice and will point you in the right direction if you have any questions! So let’s get started, go wild! I can’t wait to see your homemade neon lights! Hugs and kisses and see you tomorrow... Simoné will tell you where to find the best ice cream in town.
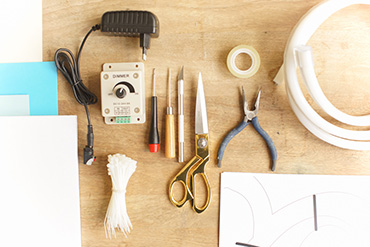
For this DIY you’ll need:
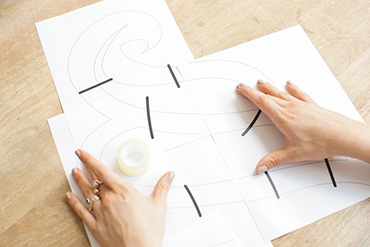
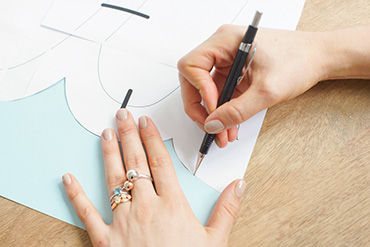
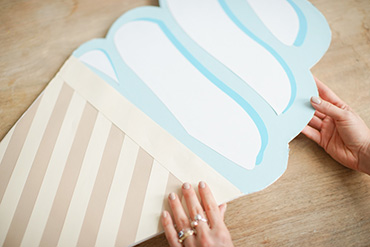
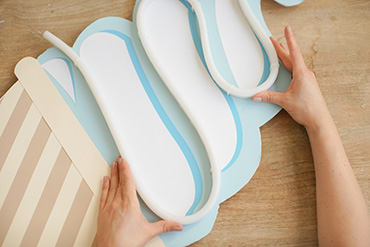
- The ice cream pattern, download here
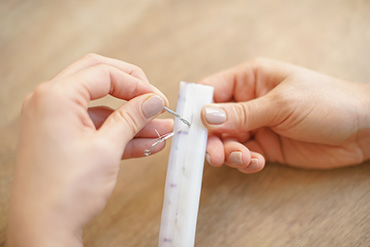
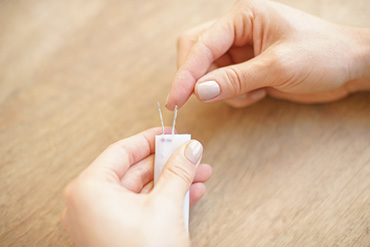
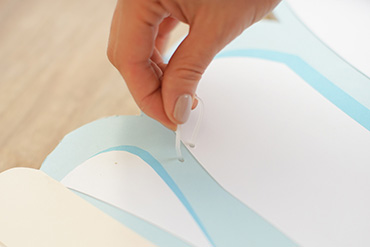
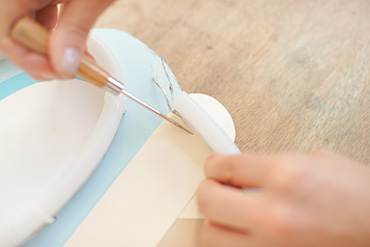
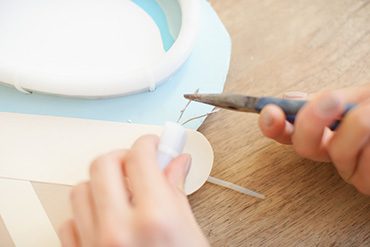
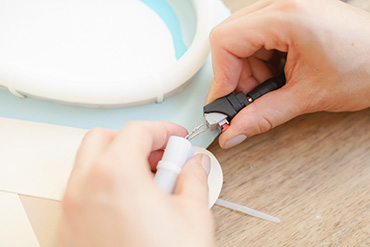
- Flexible neon lights, about 3m to make the entire ice cream, as well as a power cord and a connector jack (we found everything at Dream Néon),
- Tie wrap
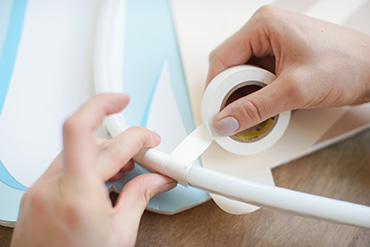
- Tape
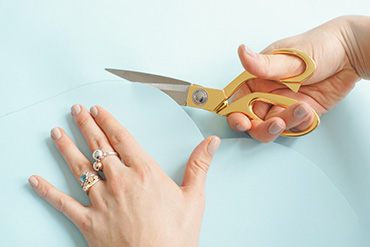
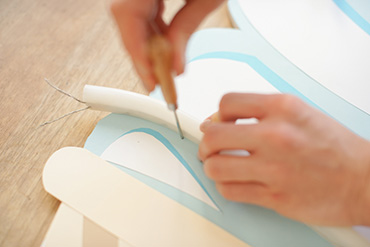
- Scissors
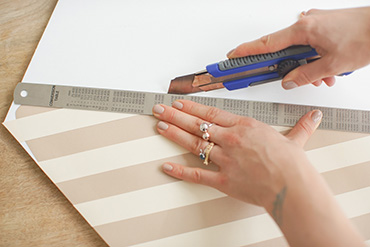
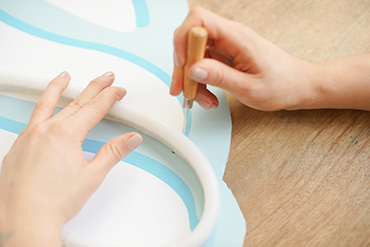
- A good box cutter
- A punch
- Electrician’s screwdriver
- Electrician’s tape, white
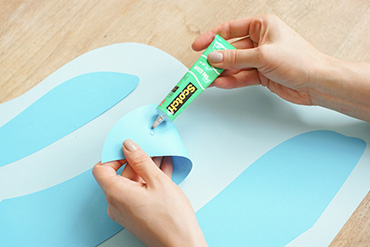
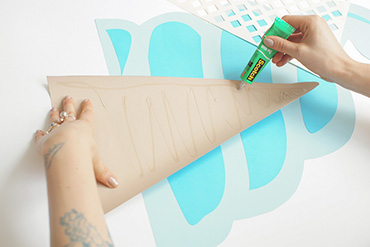
- Glue
- Wire cutters
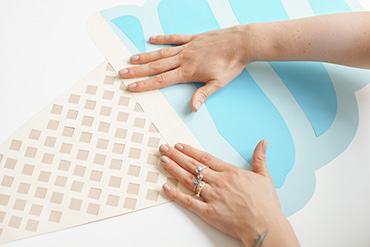
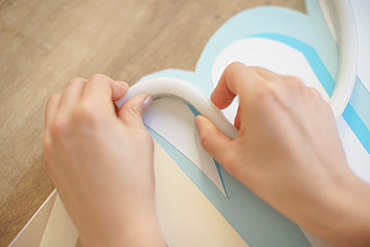
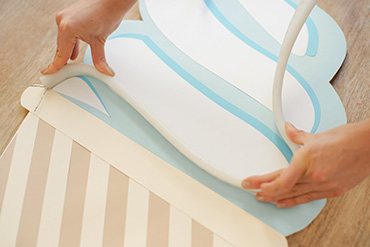
- Large sheet of foamcore cardboard (A0 format)
- 65x50 cm sheets of colored paper


 Day...
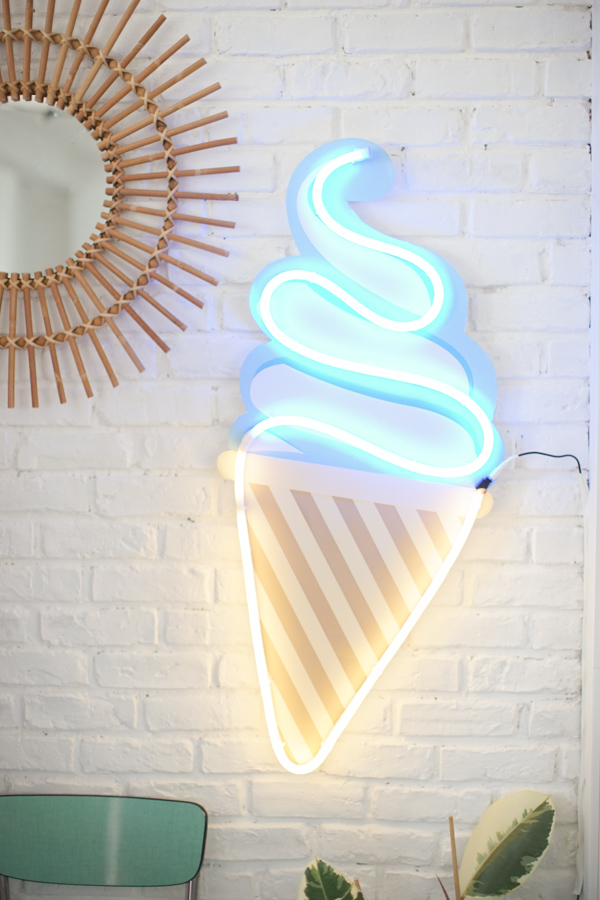 Night !
 Translated by Whitney Bolin
[:]